This guide will show you how to add an Office 365 email account to Apple Mail that comes with MacOS. These screenshots were taken on macOS Mojave - But steps should be similar on later versions.
Step 1
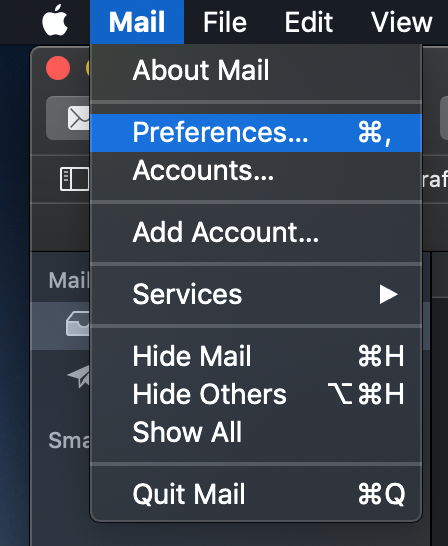
Open up Apple Mail and then click "Mail" in the top menu bar on the left hand side. Then click on "Preferences".
Step 2
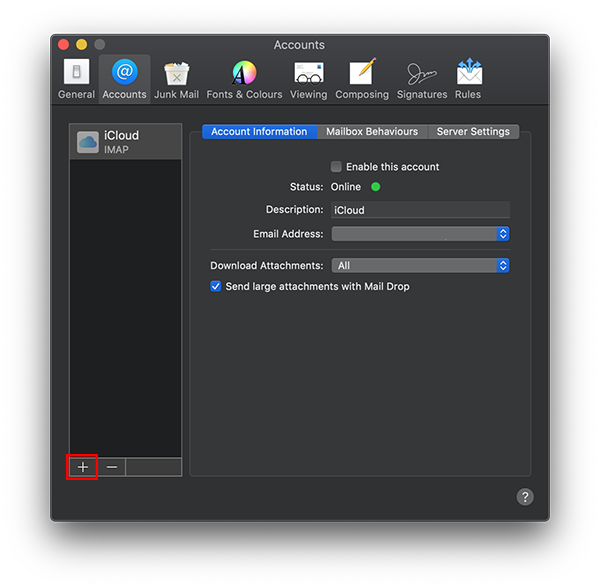
Then click on "Accounts" and then lick the + sign as shown in the red box on the screenshot below:
Step 3
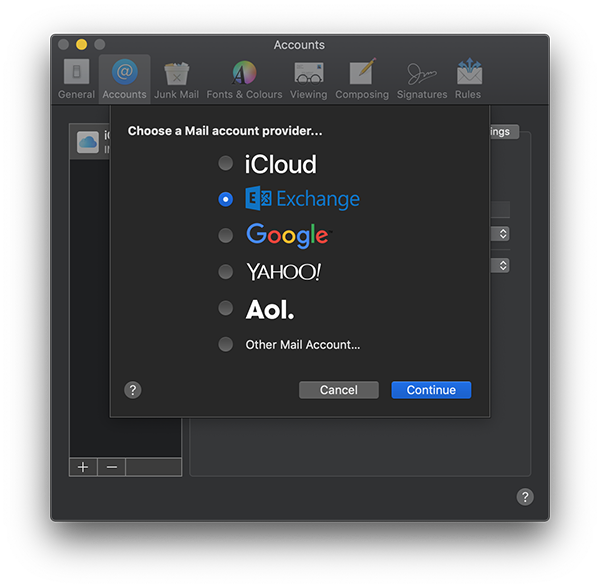
Put the dot into "Exchange" and press "Continue"
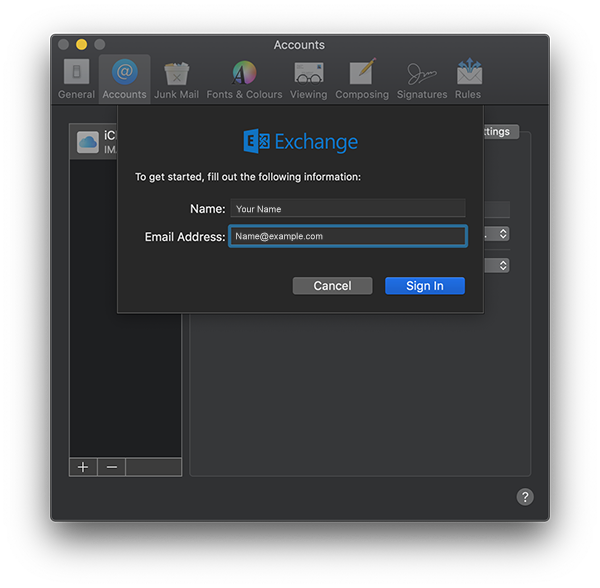
Step 4
Then enter your name in the name box and then then the email address in the email address box. This needs to be the email address you are wanting to add. Then click "Sign In"
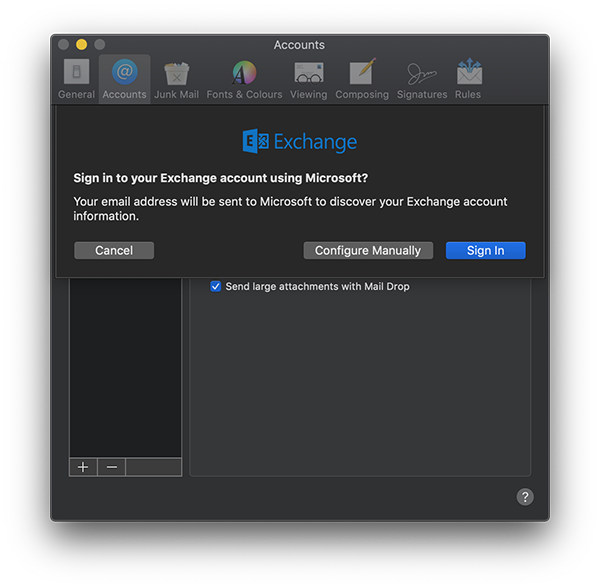
Step 5
A pop box will appear giving you the options to configure manually or sign in. In this guide you need to press "Sign In"
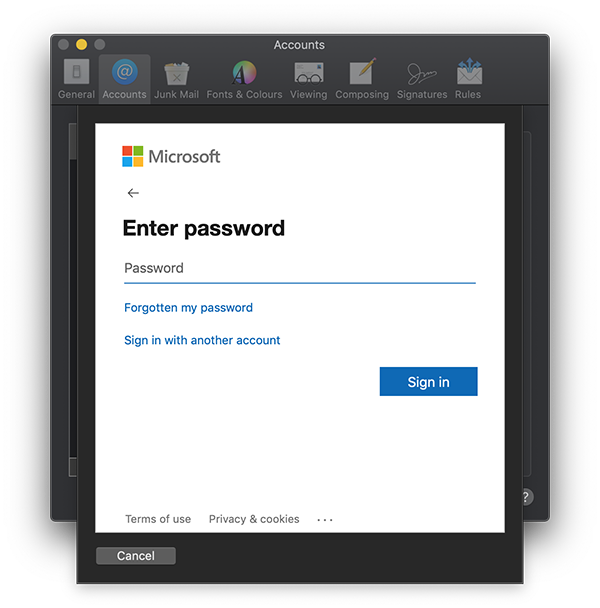
Step 6
You may get an option that asks if you want to sign into your "Personal" or "Work or School" Microsoft account. Choose "Work or School" account (This may appear not happen for everyone and will just get a password box). Then you will get password box as shown in the screenshot below. Enter your Office 365 email password and then click "Sign In".
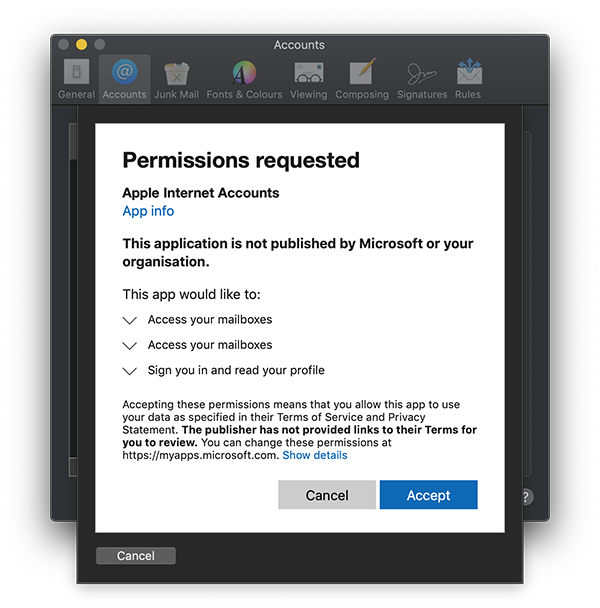
Step 7
A permissions request box will appear - Click "Accept".
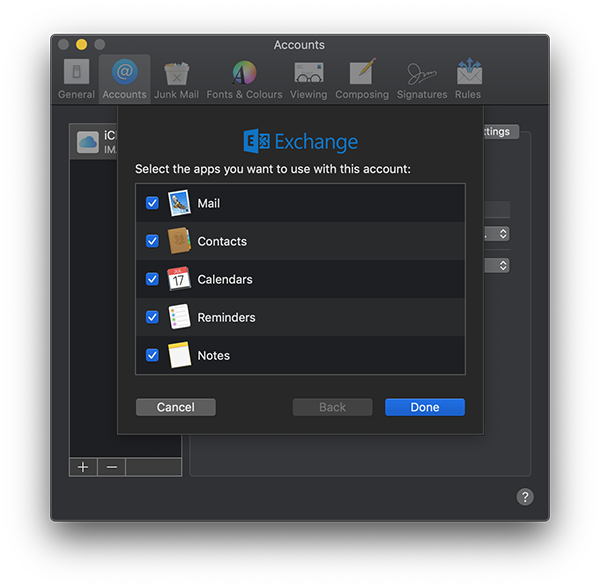
Step 8
Then select the apps you want to use the account with - Then click "Done". This will then add the Office 365 account successfully to Apple Mail.