This guide will show you how to add your email account as a POP account to the Gmail app on Android.
Step 1
Click on the hamburger menu in the top left hand side of the Gmail app and then choose "Settings".
Step 2
Click on "Add Account" and you will then be shown the following options:
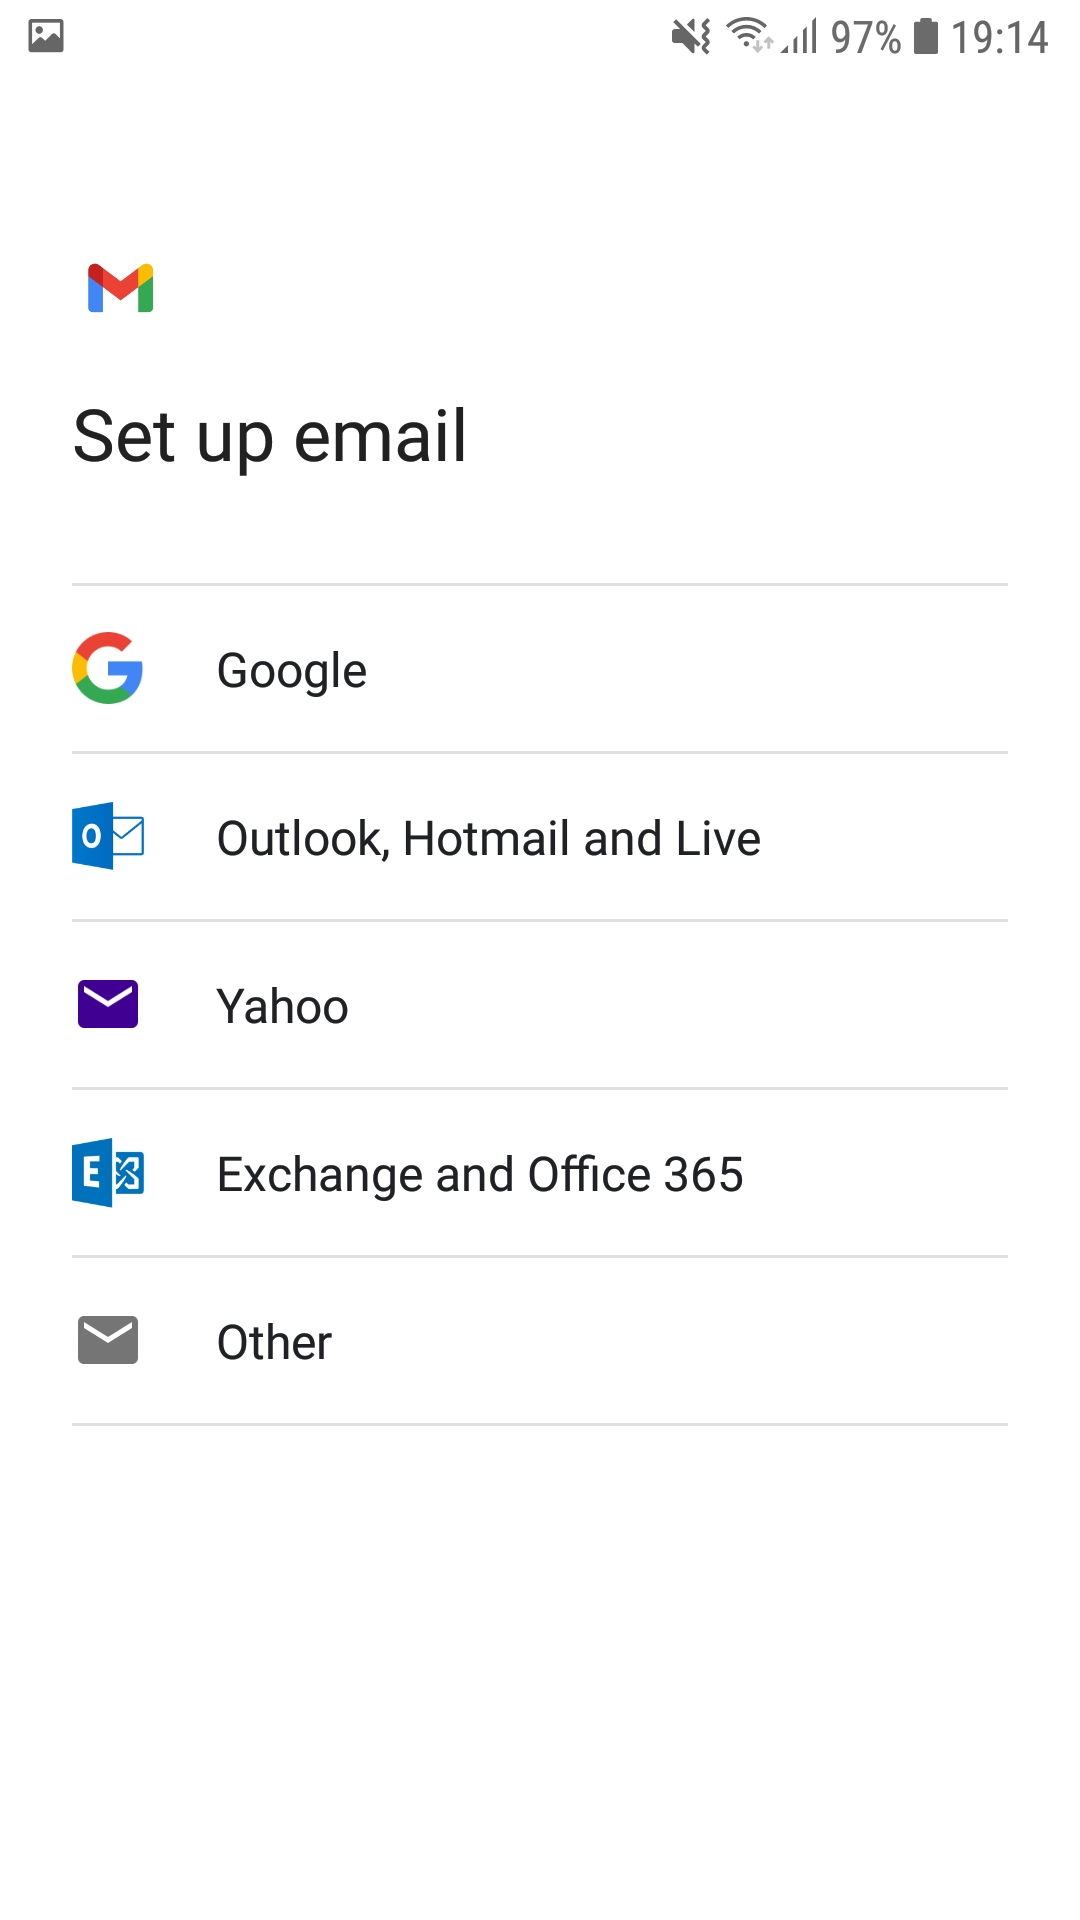
Step 3
Choose the "Other" option at the bottom page.
Step 4
Enter your email address and then press "Manual Setup"

Step 5
The next step it will ask for your email password. Enter your email password and proceed to the next stage.
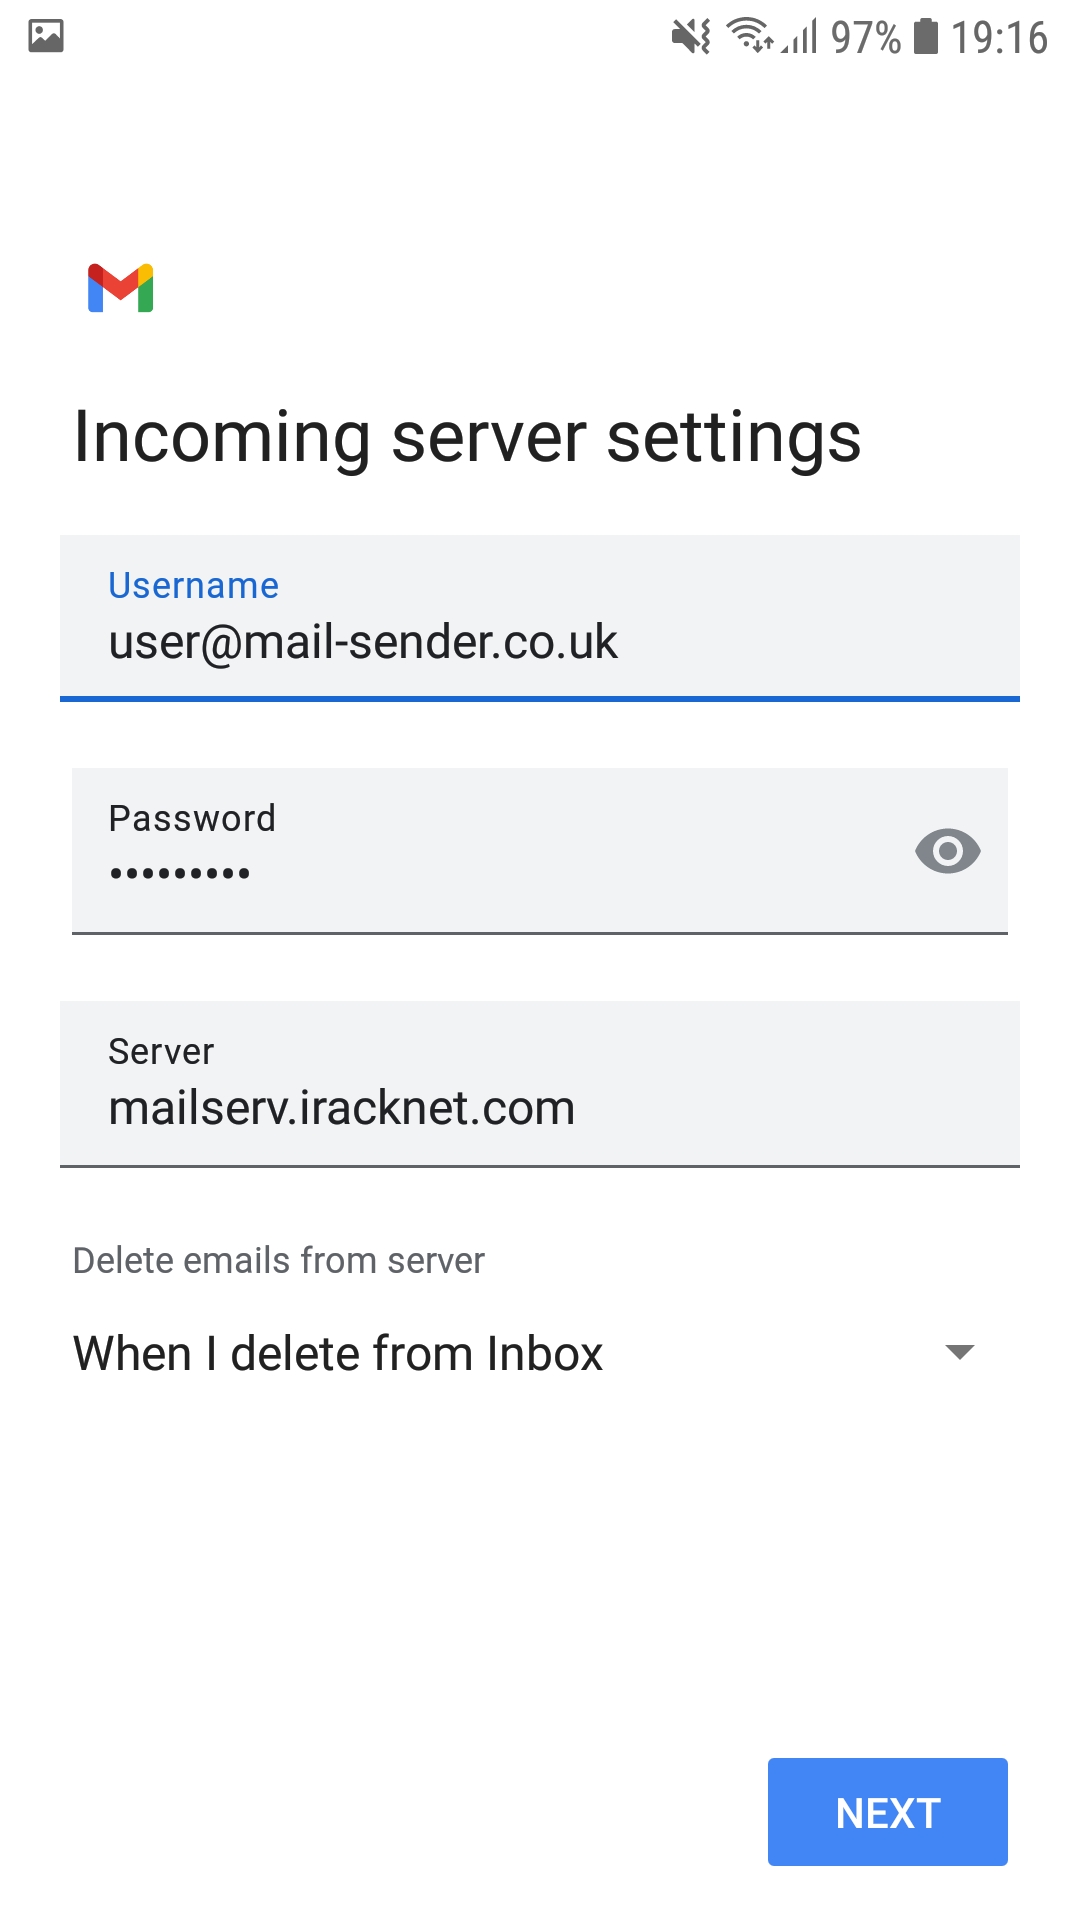
Step 6
Make sure the username is your full email address. Then you need to enter the incoming server as shown in the image below. The incoming server is: mailserv.iracknet.com and then you can press next to move to the next stage.
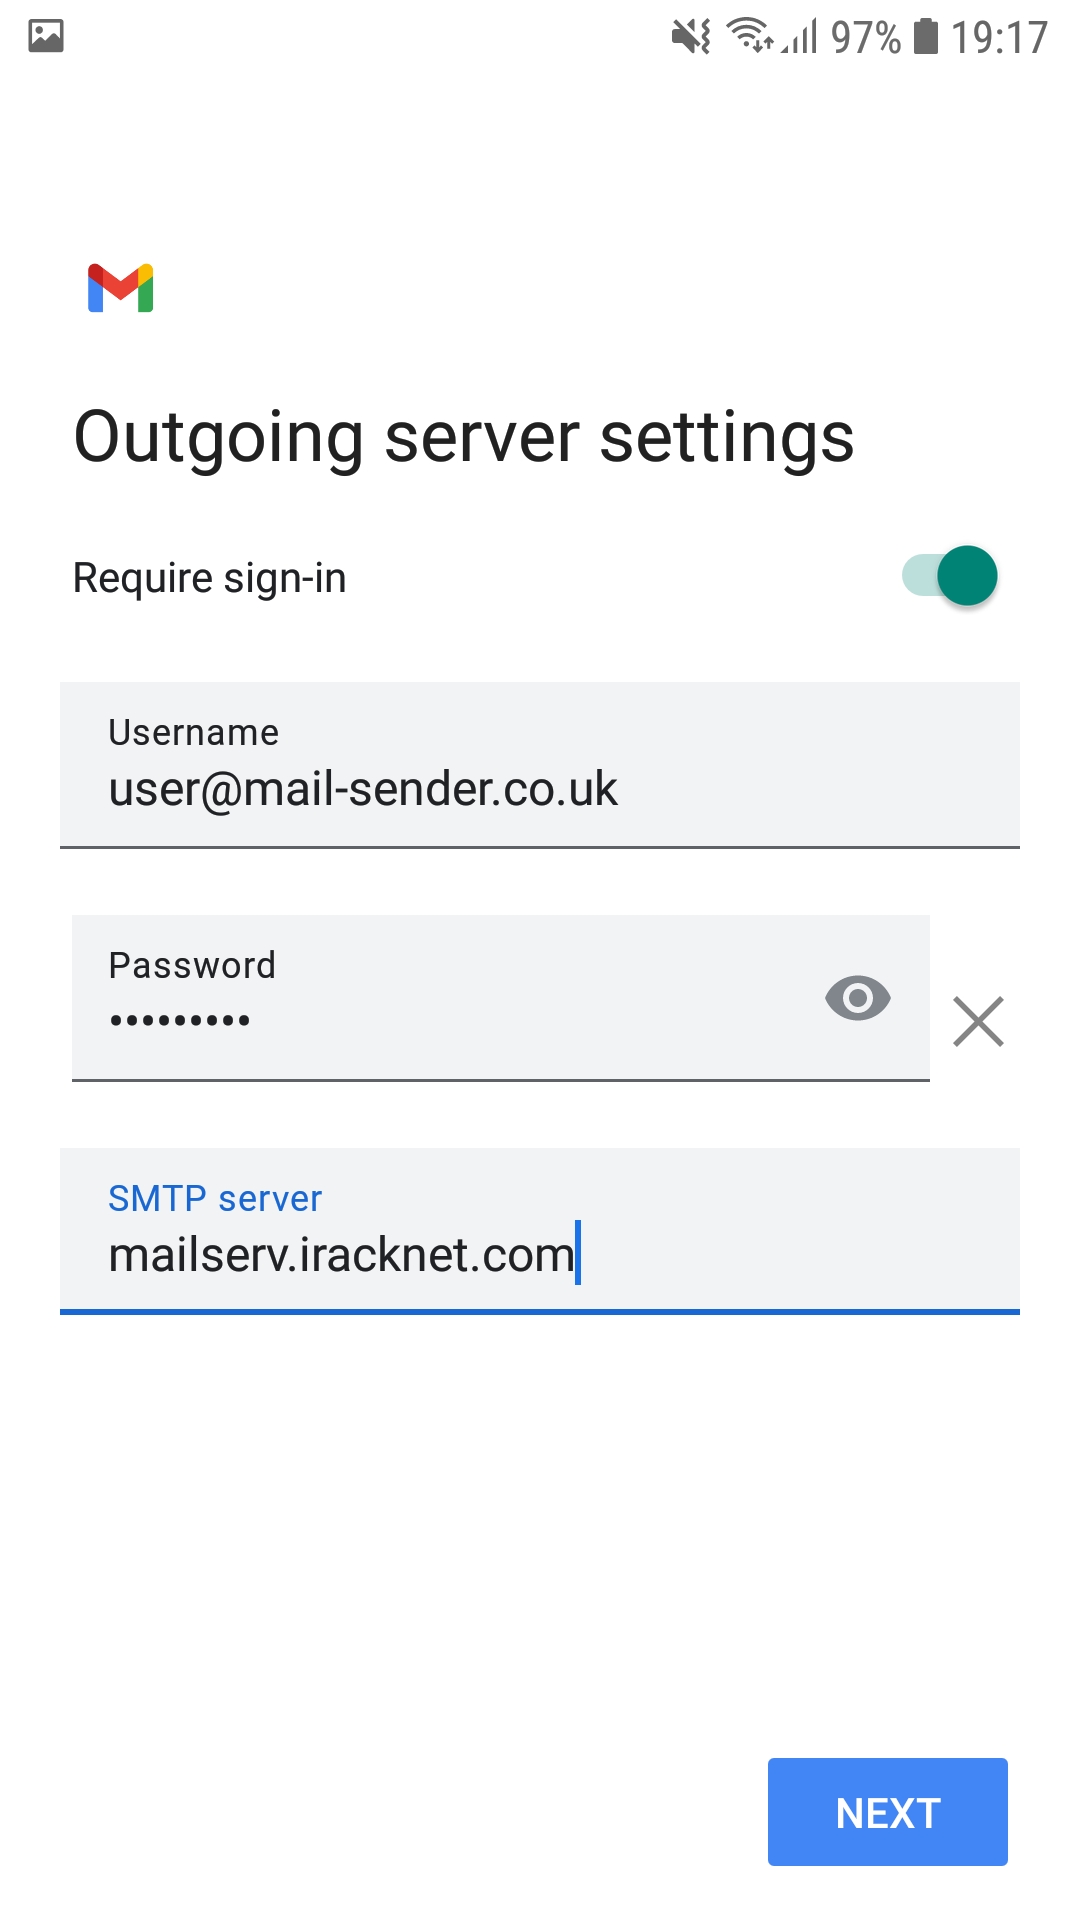
Step 7
Make sure the username box is filled with your email address and that the password is also filled in. In the SMTP server box you need to enter mailserv.iracknet.com and then press next. This is shown in the screenshot below.
Step 8
Finish the setup by changing some of the personal settings to get the account successfully added to your Gmail app. You should now be able to use it to send/receive emails.
